V520 OBD2 Scanner: Live Data + Cloud Report Printing
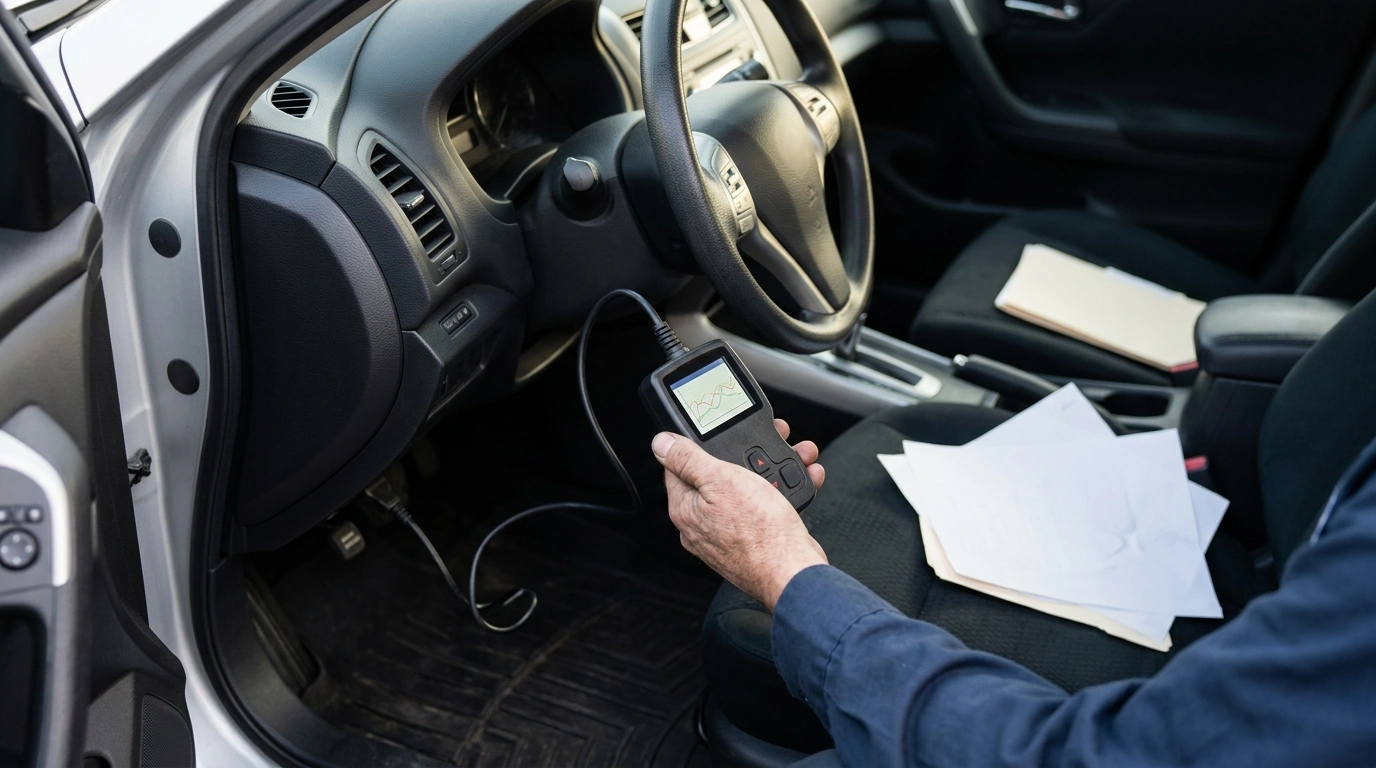
V520 OBD2 Car Diagnostic Scanner with Cloud Printing & Live Data Streaming: Practical Diagnostics for Daily Drivers
A compact OBD2 scanner can turn a confusing check engine light into clear next steps—whether that means tightening a gas cap, replacing a sensor, or gathering evidence before a shop visit. The V520 focuses on quick code reads, live data viewing, and the convenience of cloud-based report printing for keeping records, sharing results, or documenting repairs.
What the V520 helps with day to day
For most drivers, the goal isn’t to become a full-time diagnostician—it’s to quickly understand what the vehicle is complaining about and decide what to do next. The V520 OBD2 Car Diagnostic Scanner with Cloud Printing & Live Data Streaming is geared toward the tasks that come up in normal ownership:
- Reads and clears common engine-related trouble codes on OBD2-compliant vehicles.
- Shows live sensor data so trends can be spotted instead of guessing from a single code.
- Creates shareable diagnostic reports using cloud printing for easy storage and communication.
- Supports basic readiness and emissions-related checks to confirm whether monitors are set.
Cloud printing and report sharing: why it matters
When a warning light comes and goes, good notes can be the difference between a fast fix and repeated parts swapping. Cloud printing/report sharing gives you a cleaner way to build a paper trail:
- Saves scan results as a record of symptoms, repairs, and outcomes over time.
- Helps communicate the same information to a mechanic, parts store, or a second vehicle owner.
- Useful for troubleshooting repeat issues by comparing “snapshot” moments with later scans.
- Keeps documentation organized without relying on handwritten notes or scattered screenshots.
This type of documentation pairs well with a simple maintenance folder (digital or physical). If you also keep receipts for sensors, coils, or EVAP parts, you can line up “before vs. after” results and quickly confirm whether a repair actually changed the data.
Live data streaming: what to watch and how to use it
Trouble codes tell you where the computer noticed something off; live data helps you decide whether the issue is happening right now—and how severe it looks. When you’re streaming data, start with a handful of signals and build from there:
- Watch key PIDs such as engine RPM, coolant temperature, short/long-term fuel trims, O2 sensor behavior, and throttle position.
- Confirm whether a problem is active (values abnormal right now) or intermittent (values look normal until a condition repeats).
- Use warm-up and idle periods to spot patterns like rough idle, lean/rich conditions, or unstable sensor readings.
- After a repair, verify improvement by comparing the same driving conditions and noting stabilized values.
A practical approach is to capture data in the moment the symptom appears. For example, if the idle is rough only after fully warming up, wait until coolant temperature stabilizes and then check whether fuel trims are climbing, RPM is hunting, or O2 sensor switching looks sluggish.
Common scenarios where a scan saves time and money
- Check engine light appears: pull the code, note conditions, and decide whether the car is safe to drive short-term.
- Rough idle or poor fuel economy: review fuel trims and temperature-related data to narrow the search.
- After battery replacement: clear codes (when appropriate) and verify readiness monitors over time.
- Preparing for inspection: check readiness status before scheduling, avoiding a surprise failure.
To better understand what OBD is designed to monitor (and why certain emissions-related problems trigger codes), see the EPA overview of On-Board Diagnostics (OBD). For deeper technical context on standardized diagnostic services, SAE documentation such as SAE resources can be helpful.
Compatibility and setup checklist
Feature snapshot
| Step | What to do | What to look for | What to save/print |
|---|---|---|---|
| 1. Connect | Plug into OBD2 port and switch ignition on | Stable connection and vehicle info recognition | Vehicle details and initial status |
| 2. Read codes | Run a fault code scan | Code type and whether it returns immediately | Code list and brief notes |
| 3. Review live data | Open live data stream and observe at idle / light revs | Out-of-range temperatures, unstable trims, sensor dropouts | Live data snapshot (problem moment) |
| 4. Repair decision | Cross-check symptoms with code + data | Consistency between code and sensor behavior | Pre-repair report |
| 5. Verify | After repair, rescan and drive cycle as needed | No returning codes and improving readings | Post-repair report for records |
Limits to keep in mind
Who this scanner fits best
Helpful add-ons for keeping better records
- Content That Sells Strategy Toolkit | How to Create a Content Marketing Strategy 3-in-1 Bundle
- Grow Your Business Step-by-Step: 10-in-1 Bundle for Online Success
FAQ
Will it work with my car?
It should work with most OBD2-compliant vehicles, which generally includes most 1996+ gasoline vehicles in the U.S. Locate the OBD2 port (often under the dash near the steering column) and keep in mind that supported data (available PIDs) can vary by vehicle and ECU.
Is it safe to clear trouble codes?
It’s safest to record codes and any available snapshot/freeze-frame-style information before clearing. Clearing can erase helpful diagnostic context and reset readiness monitors, so it’s best done after a repair or when you’re intentionally restarting diagnostics.
What should be checked in live data for a rough idle?
Start with STFT/LTFT fuel trims, coolant temperature, and RPM stability, then look at O2 sensor switching behavior and throttle position for consistency. The most useful clues often appear when the rough idle is actively happening and the engine is fully warmed up.
















Leave a comment